Saturday, April 9, 2016

Finally DONE.

It's been a while, but the car is finally done.  Now I just need the weather to turn.


Sunday, June 28, 2015

Added some chrome

Over the last week we got a few big things accomplished.  We finished fitting the rest of the splash guards and temporarily installed the rear ones.  I'll put the front ones in after the exhaust gets finished.  I also installed the front and rear bumpers, which requires lowering the gas tank for the rear ones.  The painter instructed me not to tighten anything that pushes against the paint too hard for 3 months.  So, I'll have to lower the tank one more time in September to snug up the bumper bolts.  We also installed the roll bars along with the trim.  The Lemans gas cap is in as well.  I rotated it a bit after reading that some people get wind noise when it opens straight back.  I also installed the rear lights and tested them again.  The windshield came back out and I was able to fix one of the screws that holds the post to the windshield frame.  I used clear nail polish as locktite on those screws.  It was one of the things they taught us at build school.

Next on the schedule for this week is to bolt in the windshield, install the headlights and front turn signals, license plate bracket and light and side mirror.  The other thing that I am planning on this week is finishing up the windshield wipers.  This is another one of those things that I am dreading.  I'm pretty sure I have it figured out, but it is not going to be fun.  If Michigan didn't require them I would not have gone through the trouble.  This car doesn't have a roof and never will, so I will be avoiding the rain.


Sunday, June 21, 2015

Picked up the body on 6/11/15

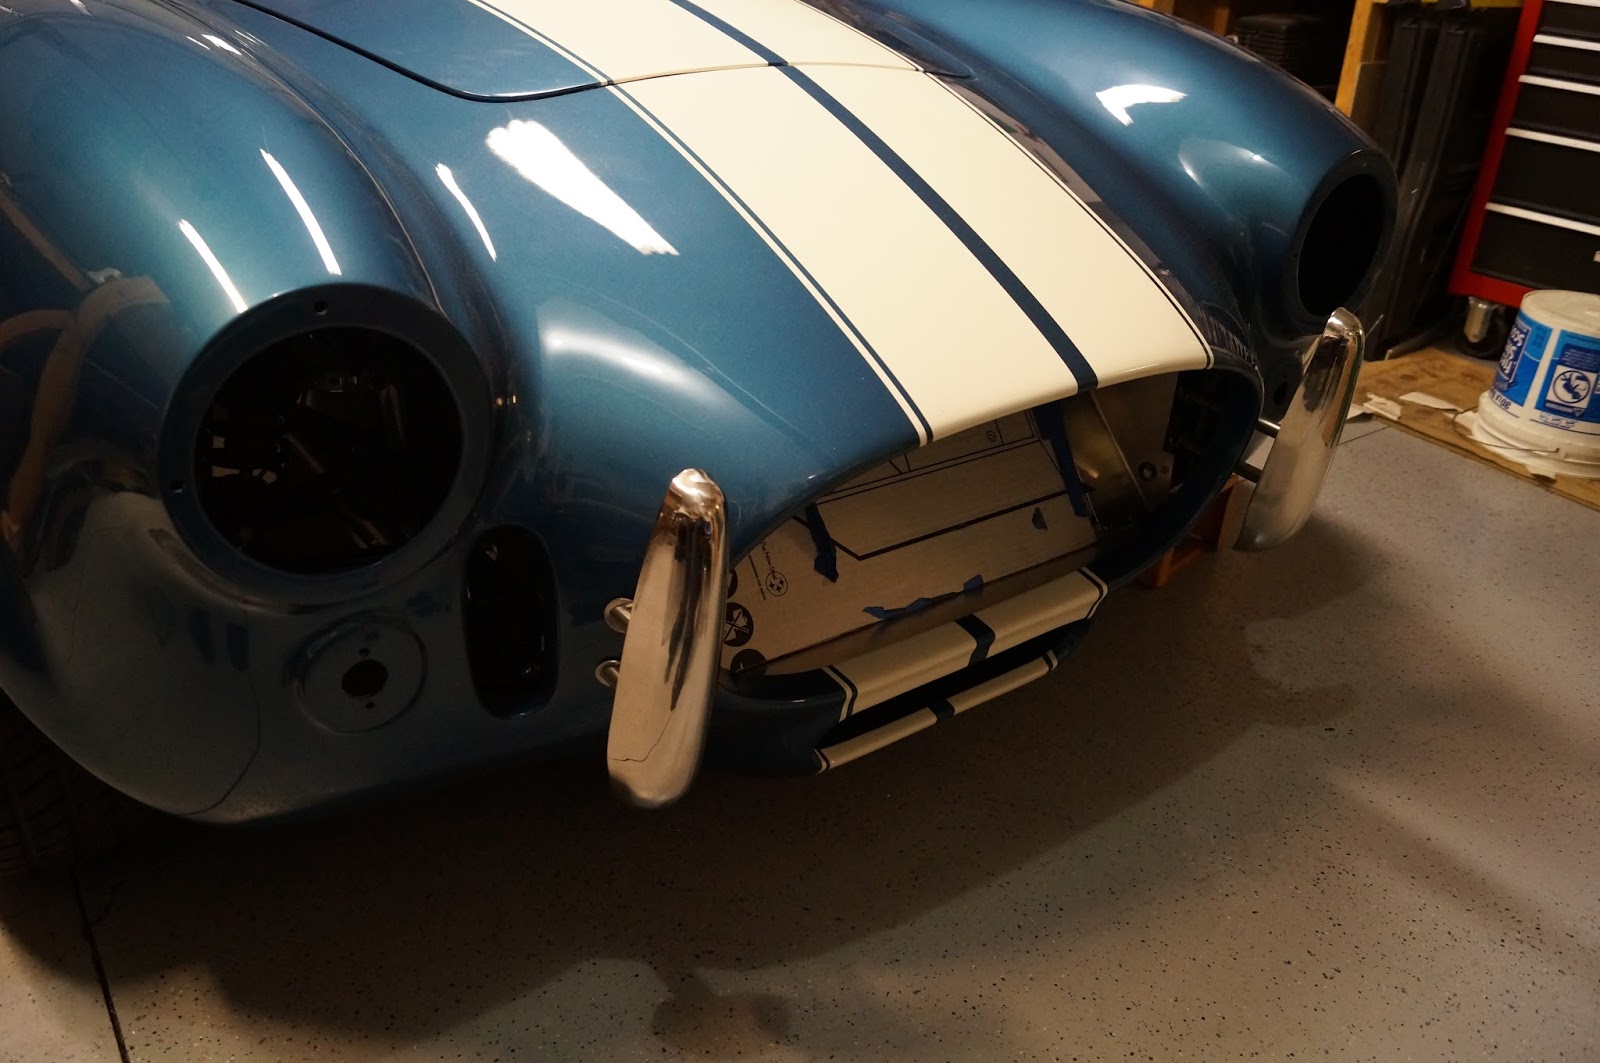
A little over a week ago, we went up to Howell and picked up the body.  We took the chassis up on a U-haul trailer using a friend's truck.  We were able to install the body with the chassis still on the trailer.  That part only took about 5 minutes.  It took a total of about 4 hours to get the hood, trunk, doors and bumper bolts in.  One of the unfortunate things about the design of this car is that I have to lower the gas tank every time I need to get to the rear bumper bolts.  I took the chassis up there with very little gas, to make that part a little easier.  In fact, I had so little gas in it that when I tried to drive the car off the trailer when we got home it died after about 10 seconds.  Lowering the tank with it on the trailer was actually really easy and the trailer held the tank in a great spot while I played with the bumper bolts.

The white paint on the hood scoop was a little off.  For some reason some of the blue bled though.  We left it up there and the painter will be mailing it to me after it gets repainted.

There is still a lot of work to do.  I had to make new aluminum pieces to go around the radiator in the nose of the car.  The radiator I went with sits in the middle of the opening, but the Factory Five one sits off to the driver's side a little.  That meant that the 3 pieces of aluminum that came with it did not fit.  I had ordered some plain sheets of aluminum and had to bend them to fit.  I made my own little break on the workbench to bend the pieces.  It came out really well, but took a few days.  I also got the front splash guards that go in the rear of the wheel wells to fit (after making a new one for the driver's side).  This week I'll be fitting the rear ones, installing the Lemans gas cap, bumpers and the roll bars.  More pics next weekend.


Saturday, April 18, 2015

Body alignment

The body for the roadster is one piece.  The directions for the car really only tell you to put the body on and then install the bumper bolts and that should get the body where it is supposed to be.  Well, that didn't work for me.  The door jams did not wind up in the correct spot, the hood opening did not sit correctly on the driver side and the driver's front bumper bolts did not line up.  I found some posts that help to get the body lined up, but I still couldn't get it where I wanted it.  I was trying to get everything lined up before paint and was very frustrated.  One of the biggest problems was that I could not get the windshield in.  So, I called the shop that I wanted to do the body work and paint and he told me it was a common problem and that he would get it lined up.  But, there were a few things that I needed to do before I could bring the car to him.  Three months later (December 12th) I finally got the car to the painter.  Unfortunately, another Cobra got to him just before mine did.  So, with the holidays and the other car in the way, I didn't get the chassis back until the end of February.

Let me explain how the painting process goes on a fiberglass bodied roadster.  First, I take the chassis with the body on it to the painter, along with the doors, hood, trunk, rollbars, exhaust and everything else that could affect the alignment.  After the body is lined up, he puts the doors, hood and trunk on and sets the gaps so that the paint will fill it in perfectly.  Then, all the fiberglass comes off and I pick up the chassis.  While the painter finishes sanding, filling, sanding, priming and painting I install the carpet and the rest of the interior.  Then, when the body is done, I go back up and the body gets put on.  This process usually takes about 3 months.  I thought it would work out and I would get the body just before leaving on my trip to Arizona, but it was delayed and should be ready when I get back.

This is when I had the body on, but you can't really see any of the issues.


 This is a pic the painter sent as I was on the way up to pick up the chassis.  There is no way I could have gotten things to line up that well.


The paint shop I am using is New Reflections in Howell, Michigan which is about an hour and a half from my house.


Friday, April 17, 2015

Finished Dash

The stock dash covering from Factory Five is a thick padded vinyl.  When the gauges are installed it compresses the padding and neither of us liked the look, so we went with something that wouldn't indent.  We chose a marine grade vinyl.  It leaves a much cleaner look in my opinion.  I used the standard gauge layout and the switch holes that were already drilled in the dash.  I had to add a couple of switch holes for the heater, wipers, and a push button ignition.  We also added a grab bar for the passenger.  (It adds an aesthetic element to the empty side of the dash making it look better, in addition to being functional to hold onto.)  We used Weldwood contact cement to adhere the vinyl and 3M-90 for the vinyl as it wraps around the back.  I did a lot of experimenting with different types of adhesive and left them outside for a week in the sun to see what worked best and was the easiest to do.  This is right after the vinyl was attached, with the gauges temporarily mounted and the switches not installed.  You can see the switches in some pics that I will post soon.


Driver side footbox access hole

When I purchased my kit, it did not include access into the top of the driver's side footbox.  It is a necessity so that I can have access to the pedals and the clutch cable for any repairs or replacements should the need arise.   I did what many other builders do, I made my own access hole.  I put the body on and made a line to show what part of the box I could get to after the car was done.  Then, I cut a hole and made another piece for a panel.  I added rivnuts to the panel to make the lid easy to remove.  It has since been powdercoated the same anthracite color as the rest of the engine bay panels. These pictures were taken prior to powdercoating.  If I were to purchase a kit NOW, it would come with an access hole already built into it.


Wednesday, April 15, 2015

Driveshaft safety loop

I set a new record for not updating my blog.  The body of the car is at the painter and the chassis is ready to install the body, so this is a great time to update.  First, is a picture of the driveshaft safety loop.  It is a solid metal hoop that will protect the driver and passenger if the driveshaft should happen to come loose.  If it were to come loose at speed without the safety loop, it would be a bad day for anyone in the car! The driveshaft is very close to the people and there is only a thin piece of aluminum and some carpet in between.


Friday, May 16, 2014

First Go-Kart

We took the roadster around the block for the first time today.  First, I took it to the corner and back by myself.  Then, I took Sharon and Rachel out for rides.  Thank you Curt for loaning me your GoPro.  That thing is awesome!


Seat Install

Permanently mounted the driver and passenger side floors and installed the seat bracket bases.


Passenger side seat with the harness installed.  Can't figure out how to rotate it on the blog even with the pic oriented correctly.

Thursday, May 1, 2014

Rough alignment is DONE

I really like math.  I took a few measurements and figured out the calculations for checking the camber and caster on the front and the camber on the back and used a string setup to check the track and toe on both.  Then I just needed to see what each adjustment would do.  It took me three tries to get the rear (including the test) and again only three tries for the front.  I got the rear track set and I think the toe is close.  I have the rear camber at about -0.6 deg.  My measurements have the front camber both at -1.0 deg the casters at +6.5 and +7 and the toe at 1/16" in with the steering wheel centered.  It went faster than I expected, but still need to be professionally done.  For that I will need to tow it to a shop.  The place I am probably going to take it is up in Brighton though.

Here are some pics of the string setup I used.


Seats and Roll bars mounted

Here is a pic from a few days ago.  The seats and roll bars are temporarily mounted.  The driver side exhaust side pipe hangs about an inch lower than the passenger side.  After some research it looks like I'll need to shift the engine on the mounts a little.


 This is the mount plate for the driver's side seat.  It is adjustable 4 positions.  I have it set so that there is a good spot for both me and Sharon.  The passenger side is also adjustable, but I don't think it will ever be moved.


Side view of the seats.


Seats in position with a good view of the roll bars.


From the back.


Back from Vacation

We just got back from visiting family and friends in New York.  It was really great to see everyone again.  Before we wheeled the roadster and got it tuned up a little.  We were able to get the coolant filled, set the idle and fix a few leaks.  I wasn't able to check the timing because it was too bright outside for my ancient timing light.  I think I may need to get a new one.  We had a power steering leak on the hydroboost unit and a small leak at the carb.  Both were fixed with a little snugging up.  There was almost a much bigger issue though.  The car was out of the garage and I decided I could just drive it into the garage.  The seats were not bolted down and nothing was aligned, but I figured I was just going to let the clutch out a little and cost it in.  Everything was fine until I went to hit the brake and hit the gas instead.  The car lunged into the garage and I barely stopped it before I hit the wall.  The pedals were too close together, so I lowered the gas pedal a little.  I was very impressed with how much the car wanted to take off though.  Very exciting.

Wednesday, January 22, 2014

First Start!!!

I don't really have any pictures sorted out for posting, but here is the First Start the happened on 1/20/14.  Very short run.  The fuel rail to the carb has a place for a pressure gauge hook up, but I didn't install one.  The plug that was installed was not fuel tight and started to spray gas.  I tried to fix it a couple of times, but it just wouldn't hold.  I ordered a new tee without a plug and installed it today.  The fuel leak is gone.  I also had a valve cove gasket leaking oil.  That is fixed as well.  The last problem is the choke.  When I got the engine and carb the lever for the choke was unhooked.  I had to disassemble the choke to fix it.  Well, I put it together wrong.  I figured out how to do it correctly today.  I still need to get the fast idle (idle with choke on) set and tune the carb up.  The final adjustments will probably have to wait until it gets warm again


Friday, November 22, 2013

Couple of the latest pictures

 
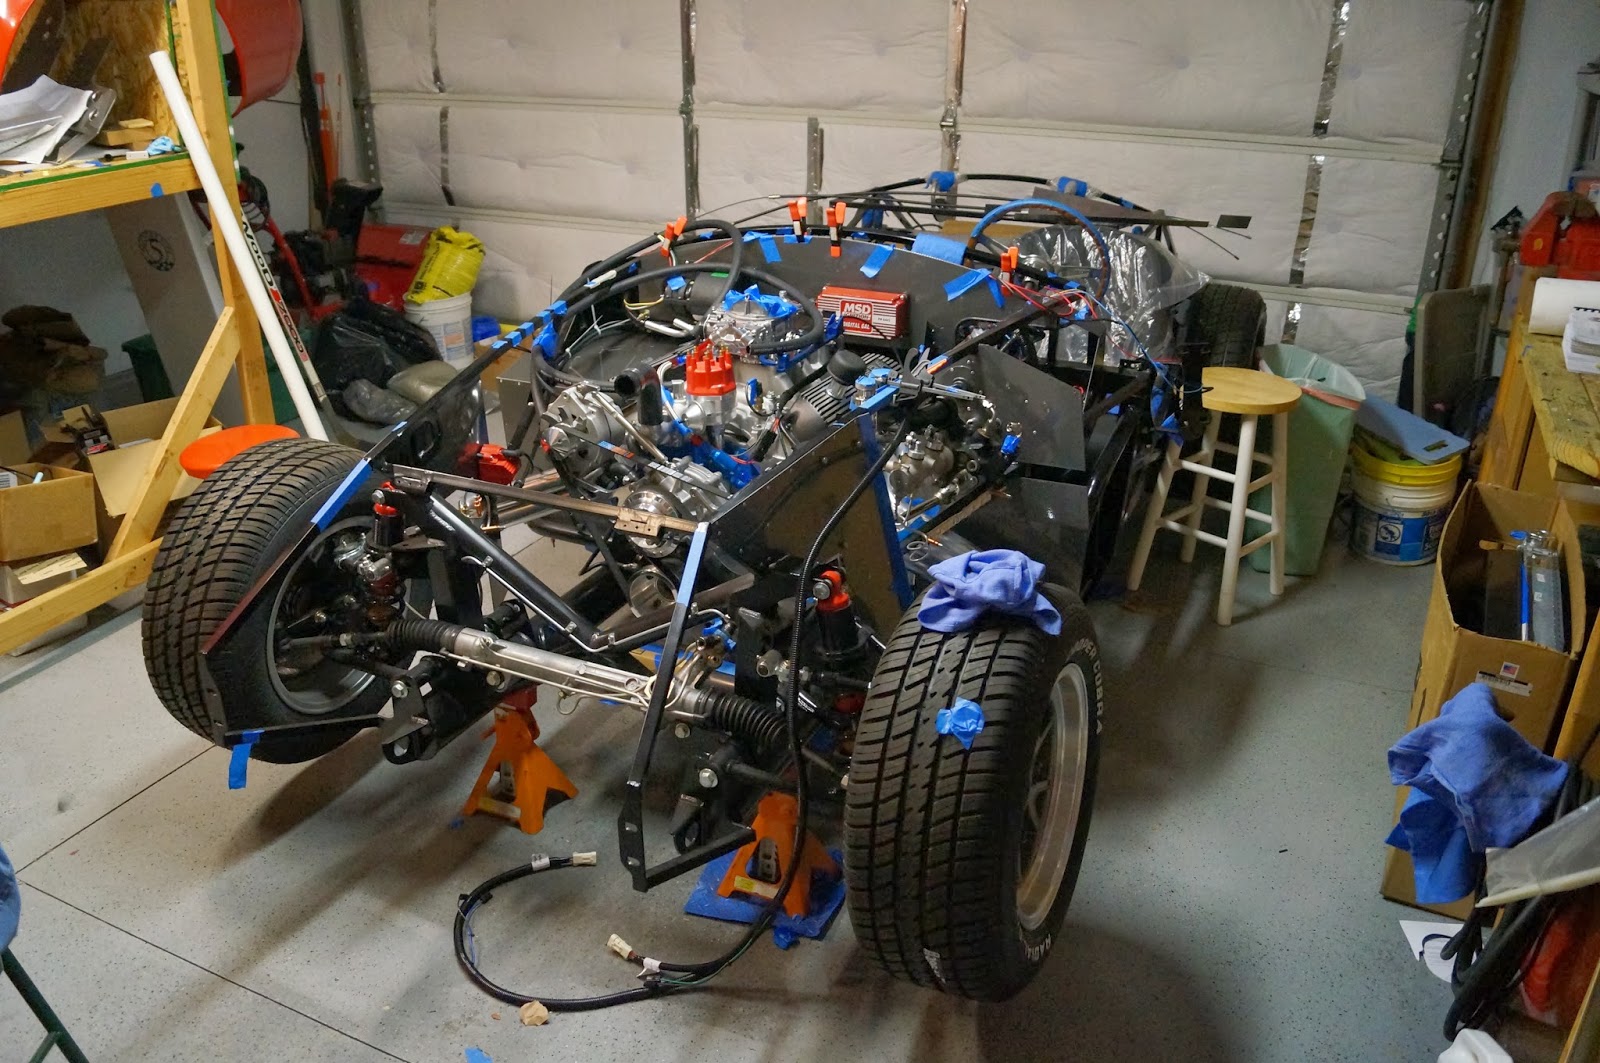
It is looking much more like a gocart.  Not too much missing in the engine compartment. 

 
The gauges are just temporarily mounted so that we could figure out the switches and buttons to mount.  eventually the dash will be covered in black vinyl or leather.

Radiator and fan shroud

I purchased the entire cooling system from a company called Breeze Automotive.  It is a small business that specializes in parts for Factory Five Roadsters.  The inlet and outlet radiator tubes are solid pieces.  If I were to get the parts from Factory Five they would have been corrugated aluminum.  I think the solid pieces and the other stuff put out by Breeze is a nice touch to the car.

 
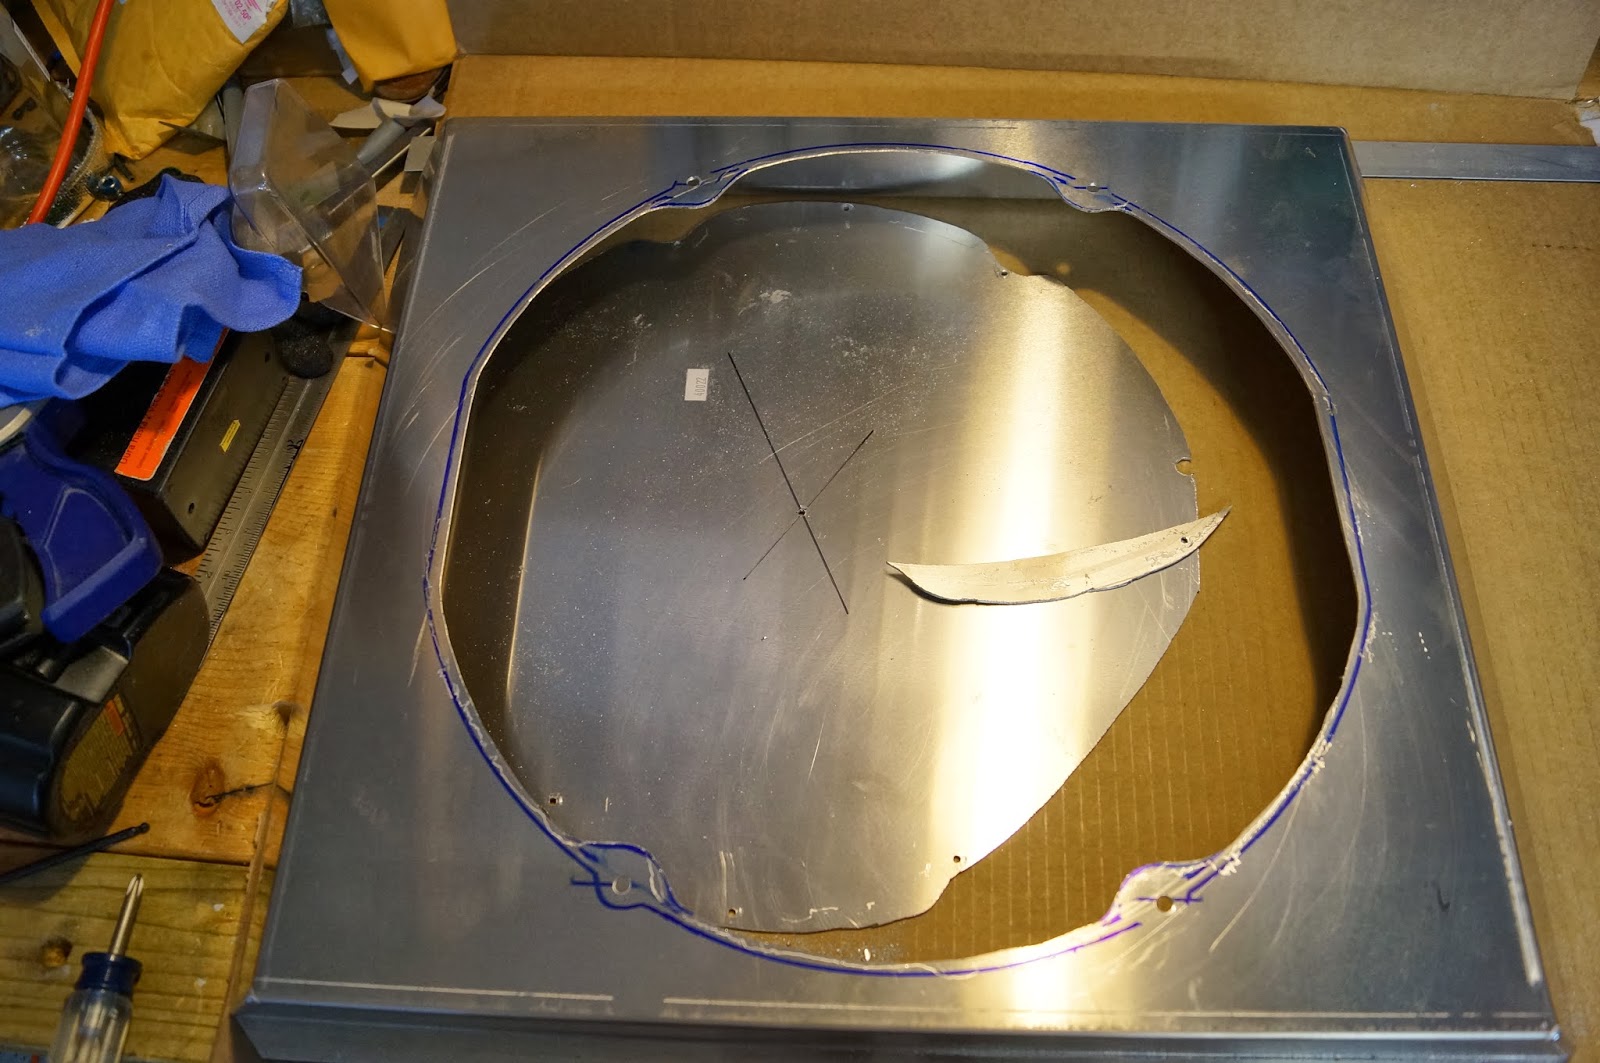
The bare aluminum shroud without the hole for the fan.

 
Fan hole cutout.

 
Mocking up the radiator without the shroud.  I needed to see where the hoses would be, so I knew where to run the power steering lines, which I still haven't run.

 
Fan being installed on the shroud.  This is the outside, but it will never be seen since it will be pointed down.

 
This is the inside of the shroud.  It will REALLY never be seen.  The part in the upper left is a fan temperature control.  I need to stick the probe between the channels of the radiator when the shroud gets attached.  It had an adjustment knob on the outside.
 
The next steps are to make the power steering lines and install them.  Then, mount the shroud on the radiator and install the cooling system.  After that I will temporarily connect the gauges for the tach, water temp, oil pressure and voltage.  Then, pull the distributor so I can prime the oil pump and then reinstall it.  Then it will be time to start the engine for the first time.  Hopefully that will happen before the end of the year.

Sharon's Box

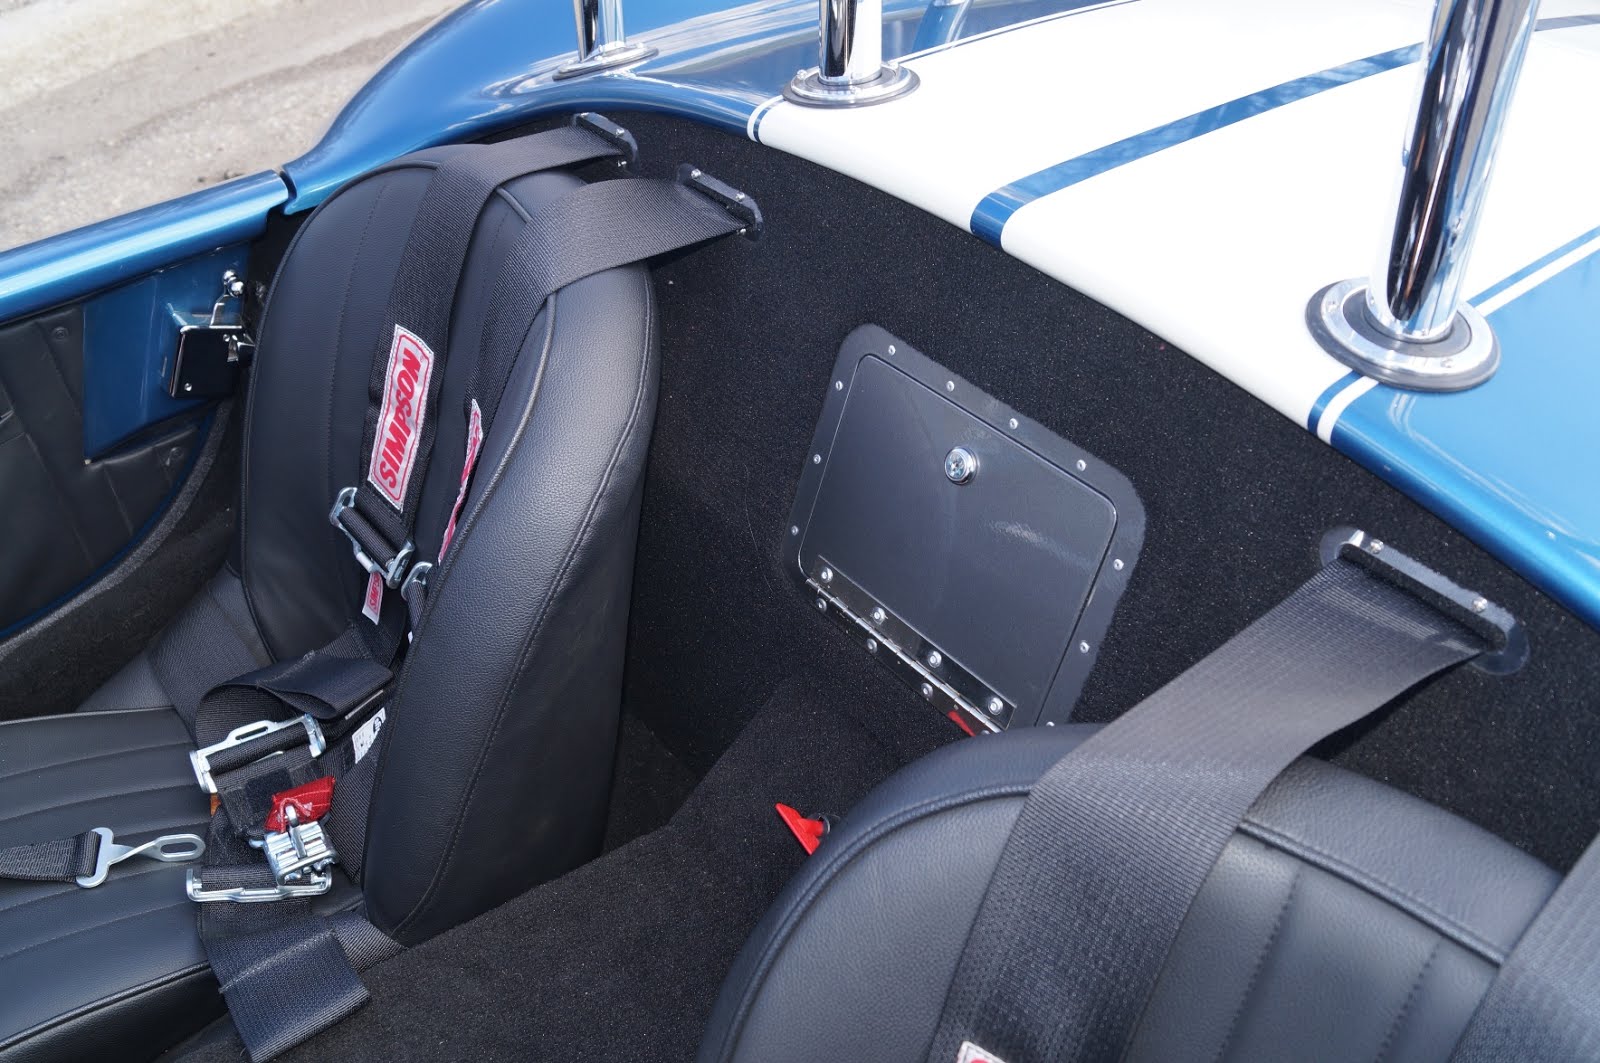
Since we decided to put a heater/defroster in the car, we don't have any room for a glovebox in the dash.  Even with the firewall forward mod, I would only be able to put in a 3/4" deep glovebox and we thought that would be useless.  Instead we are putting in a grab bar for the passenger to hold onto and a rear cubbyhole between the seats.  I initially said no to the rear cubbyhole, since I was going to have to build it from scratch and doubted my ability.  Sharon pretty much peer pressured me into trying to do it.  Well, I think it turned out awesome.  But, since it was her I idea, she gets the credit and also gets it referred to as "Sharon's box."


Here is the paperboard template.
 
 
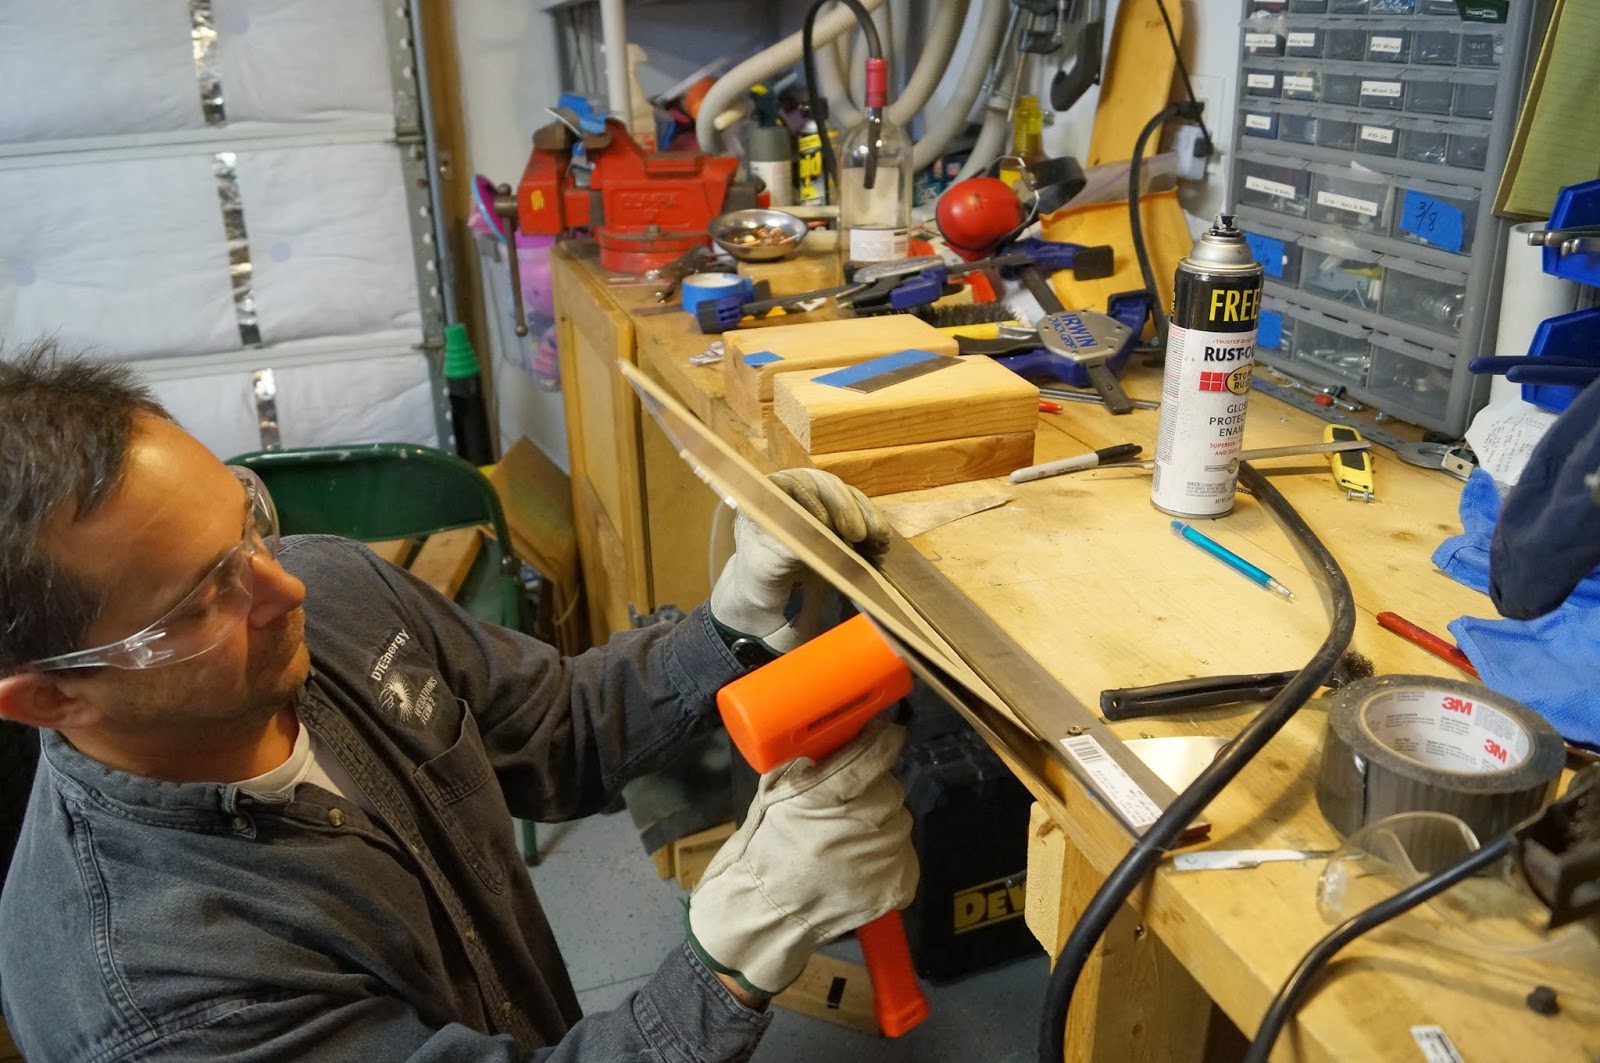
Me bending one of the scrap aluminum pieces I dug up to make it from.  Notice the safety glasses and gloves. 


Looking from inside the trunk.  It is located where the battery was initially supposed to go.  But, since I decided to change everything and move the battery, I had room for the box.


From the front, still trying to figure it out.

 
Sharon also decided that she wanted to have it all pretty, so I had to make a trim ring for it too.

 
The bottom of the trim ring overlaps where the rear cockpit panel bends, so out came the mallet.  Hey, who is that balding guy in the picture?

 
The semi-finished product.  The whole thing was then disassembled and powder coated the same color as the engine compartment panels.  The back wall will be carpeted up to the trim ring.  I think it is going to look pretty sharp.